Guides
How to create a product tour with Hopscotch
If you haven't already, make sure you read our Getting started page.
Build your product tour
Now that you have signed up and added the script to your app, you can create a new tour.
Add steps to your product tour
Product tours should be short and sweet - 4 or 5 steps is usually the max. Use friendly messaging that matches your brand's tone.
The first step is a great opportunity to welcome the user with some personality. Consider uploading a photo, an illustration, a gif, or a short 10-20 second welcome video.
Set how your tour starts
In the tour start settings, choose whether the tour should start automatically or only when a visitor manually launches it.
Keep Auto-start this tour checked when you want Hopscotch to start the tour for eligible visitors based on the tour URL, frequency, audience, and conditions.
Turn Auto-start this tour off when the tour should only start from a launcher item, a data-hopscotch-tour-id button, or the Browser SDK.
For automatic tours, choose a frequency:
- Only once for most onboarding tours.
- Once per session for tours that can repeat in a new browser session.
- Every page load for debugging or internal testing.
If the tour should wait for a modal, button click, input value, or another UI state, add a Page Element condition. See Trigger product tours from page elements for the full setup guide.
Preview and test your tour
Before publishing, use Hopscotch's preview option to check the tour in your own app.
Preview opens the selected tour in a browser tab without counting the preview as a visitor start, exit, or completion. After a preview, Hopscotch keeps that tab in preview mode until it is closed so an automatic product tour does not immediately start or repeat in the same tab.
If your tour uses page element triggers, the preview flow can also wait for those trigger conditions before showing the tour. This is useful when you need to test a modal, click, or input-driven tour before publishing.
When you are ready to test the published visitor experience, close the preview tab or open your app in a fresh tab, browser window, or incognito window.
For the full checklist, see Preview and test tours.
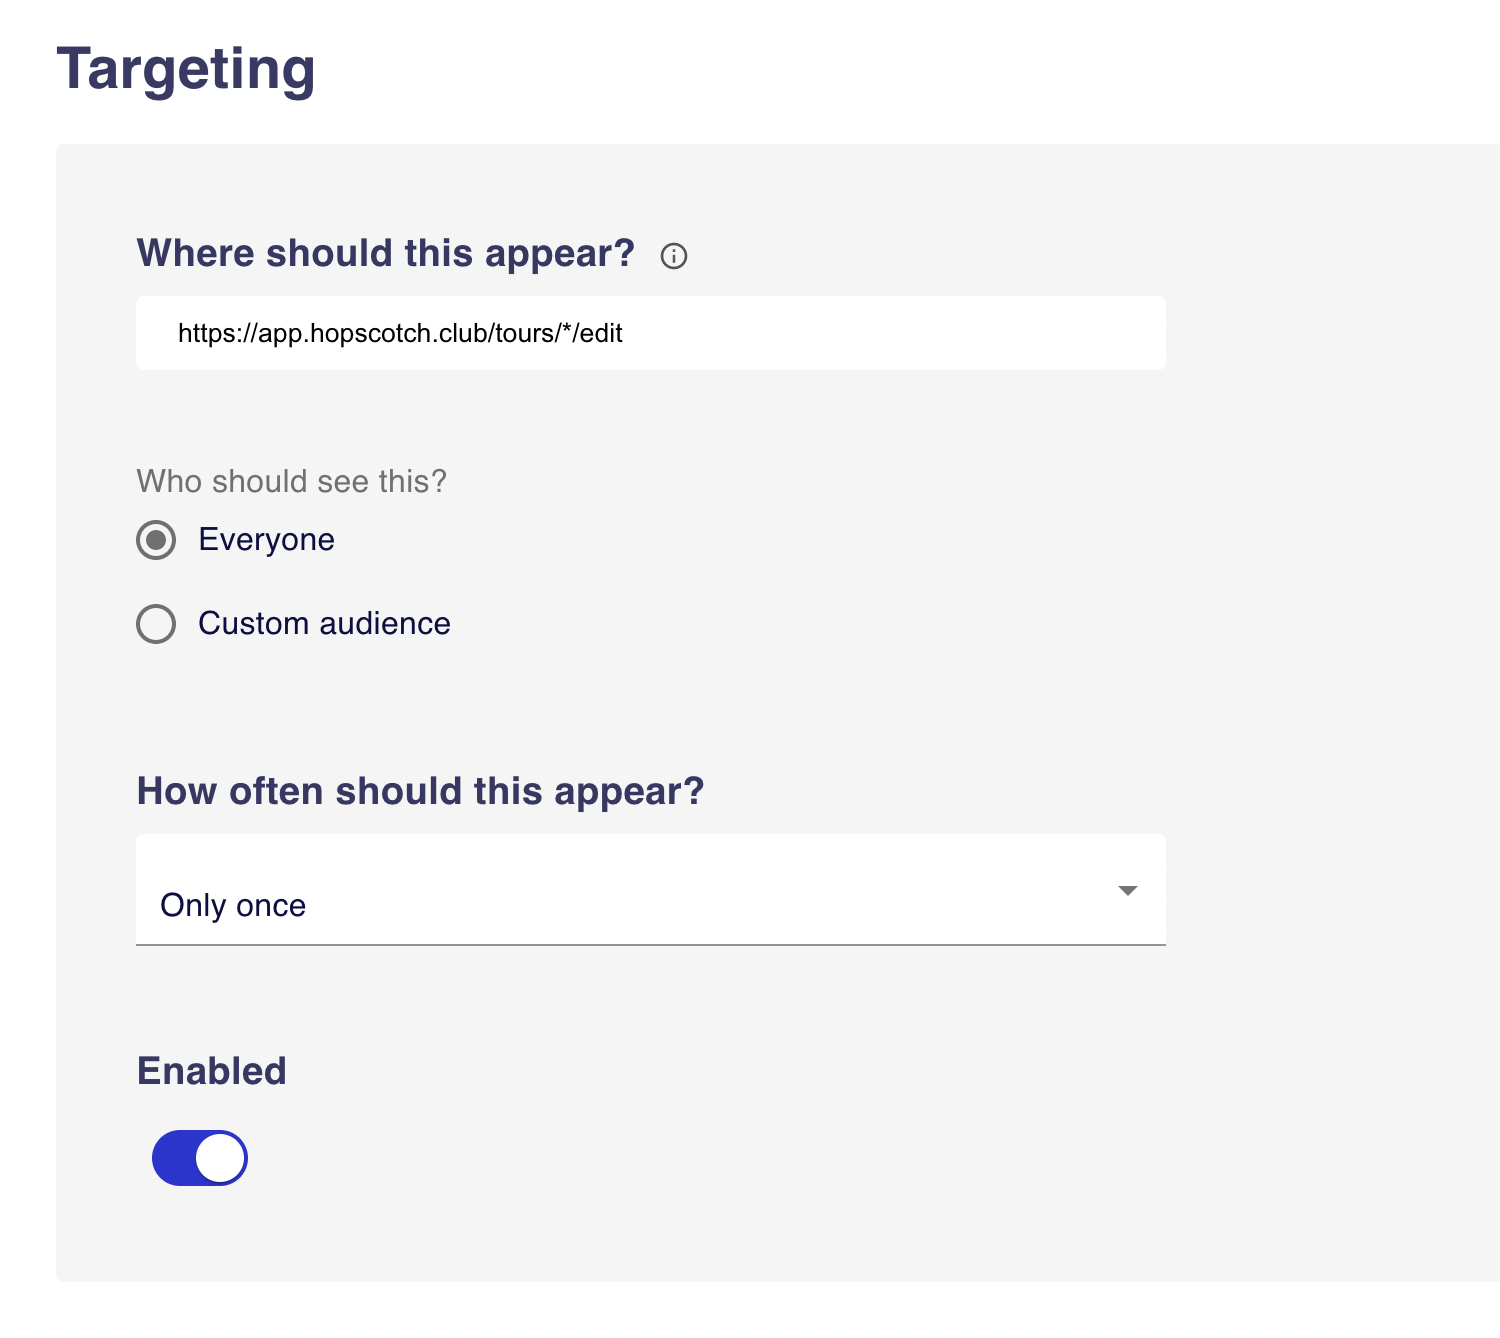
Set your audience
Next up you will decide who should see this tour and on which pages it should appear.
You can get very granular with your targeting or keep it more general.
For advanced targeting, check out this article:
Advanced targeting with custom properties
Publish your product tour
Once you're happy with your product tour you're ready to publish! Simply ensure your tour is set to active and save your tour.
Note
Publishing tours requires a paid plan. Select your plan from the Billing page.
Still have questions?
We are here to help. Don't hesitate to reach out by email any time.