Guides
Target users by language
Set up instructions
First, create a tour from the Hopscotch dashboard.
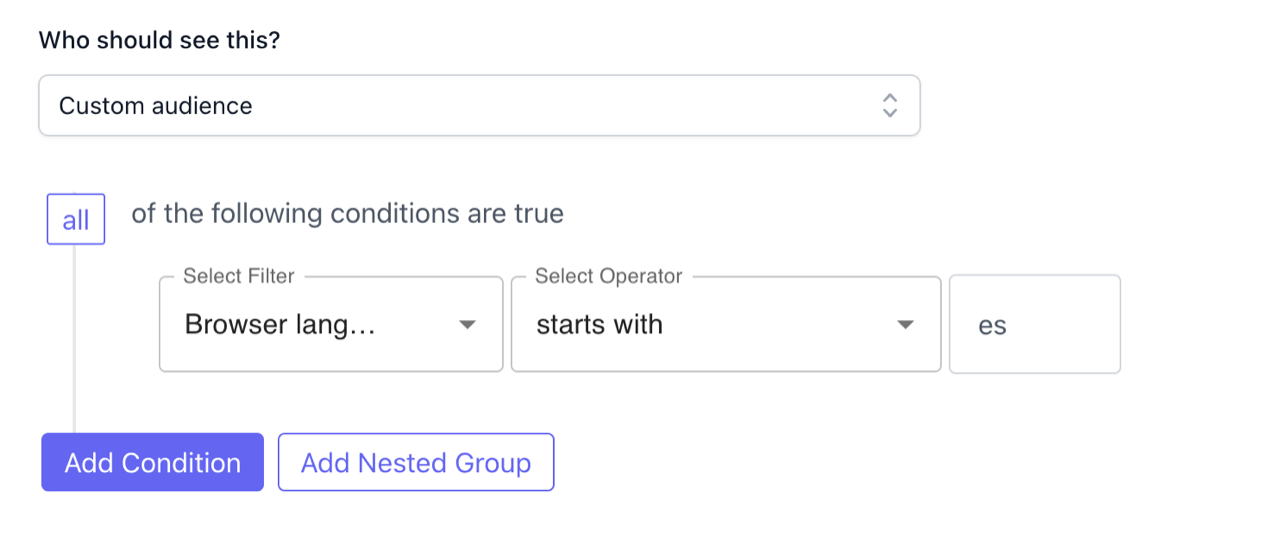
In the Targeting section, set “who should see this?” to a custom audience and set the filter based on “Browser language.”
A few notes
- You should likely use “starts with” instead of “equals”, since the browser language will often be set as
es-BOores-US, etc. - The browser language code will not always accurately reflect the user’s language and country. For example, the Hopscotch team is in Canada and our browser (Chrome) is set to “en-US” by default.
- The Next and Done buttons will still be displayed in English. To get around this would require using custom javascript on your end to override the Hopscotch text values in the Browser SDK configuration.
Testing the language filter
You can test your new language filter by changing your browser language (chrome instructions). Make sure the language you are testing is the first language if your browser displays a list of multiple languages.
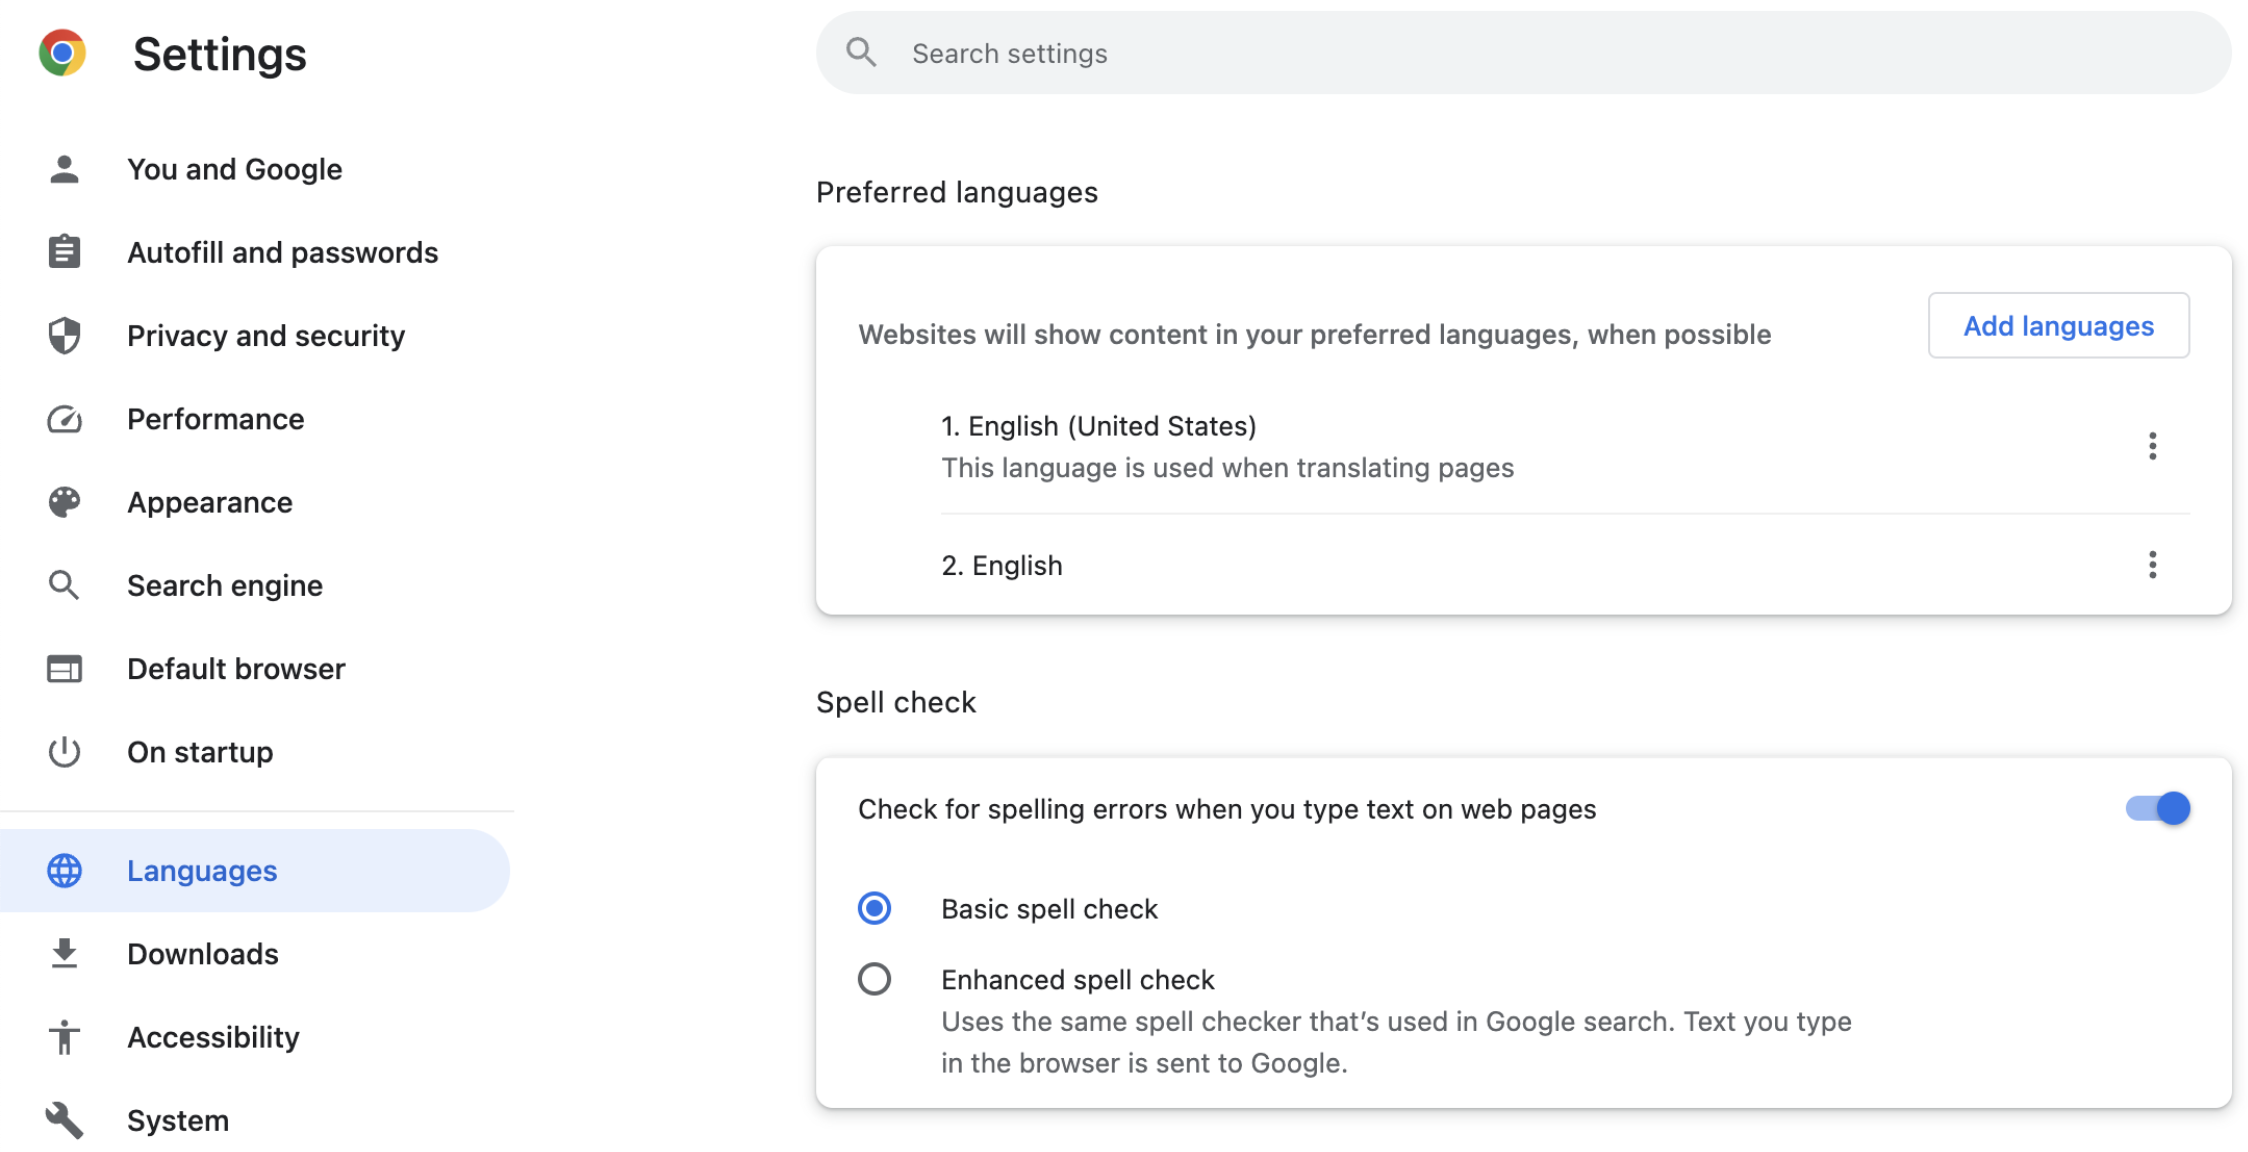
Chrome language settings
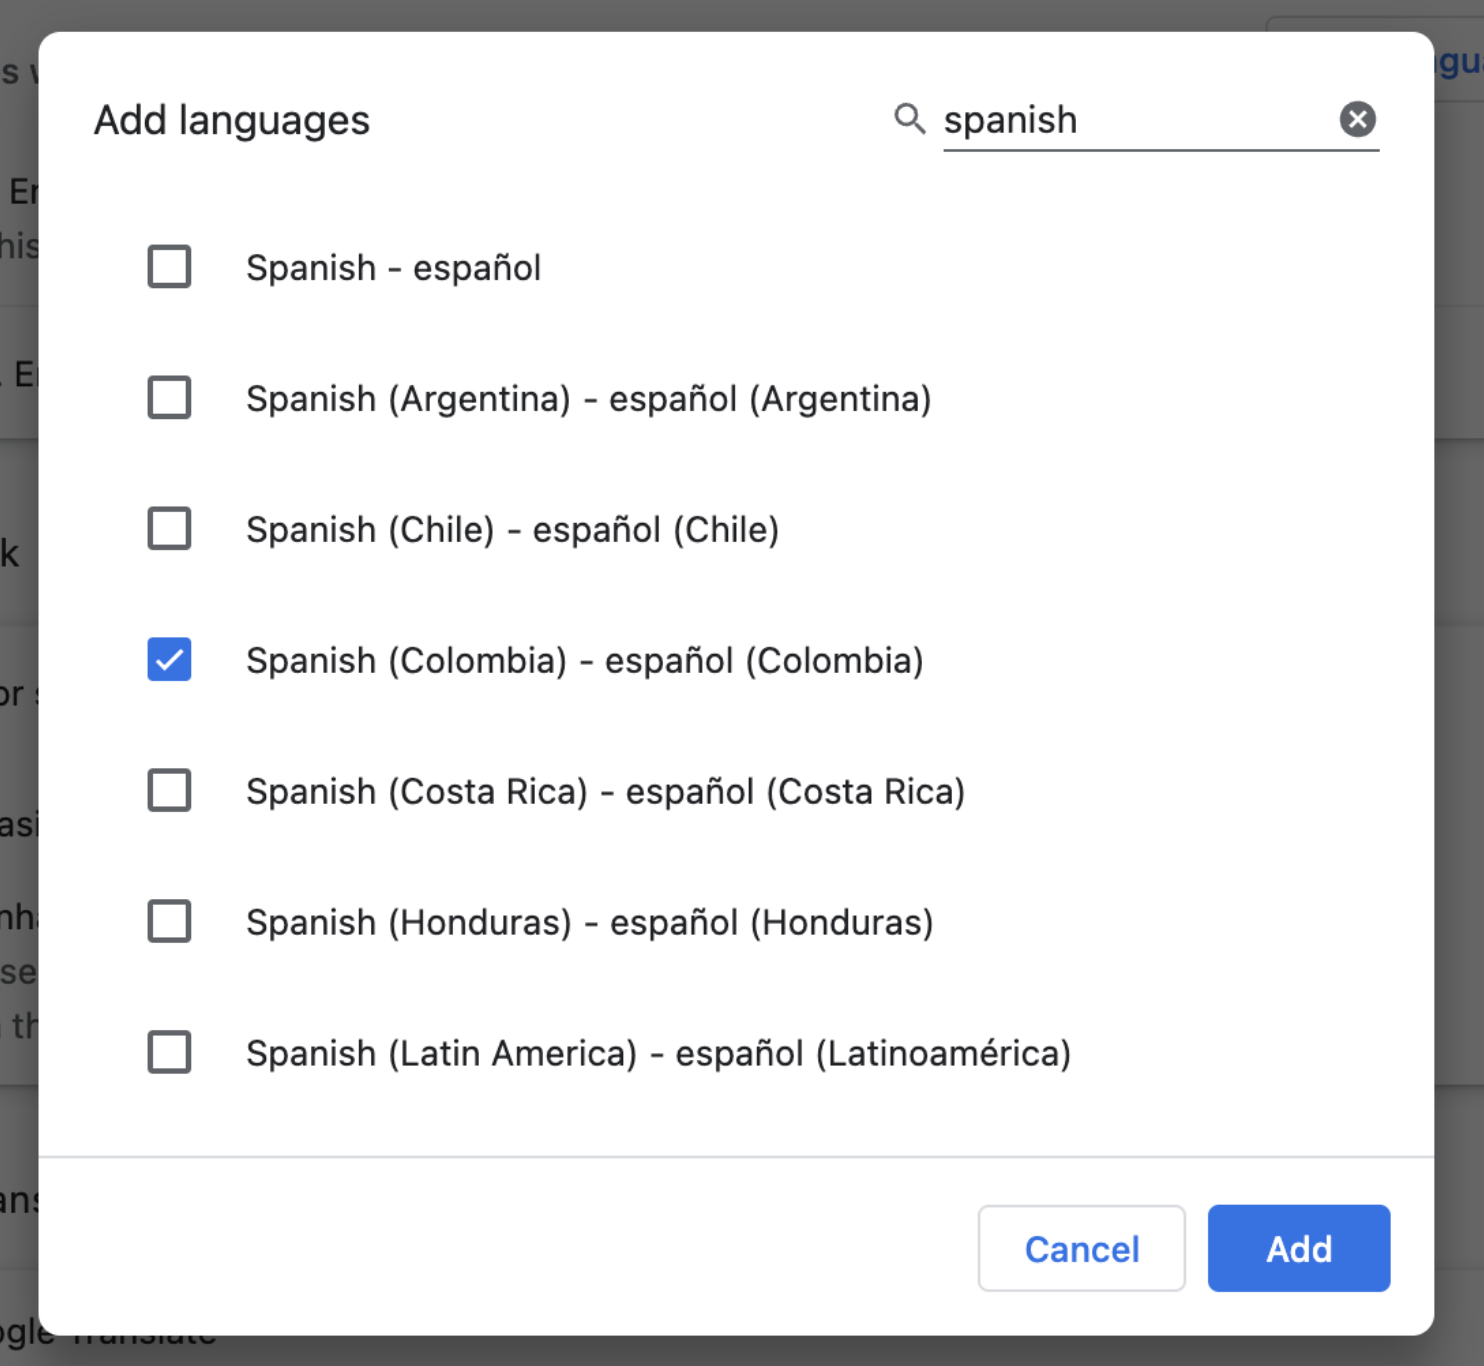
Adding a new language in Chrome
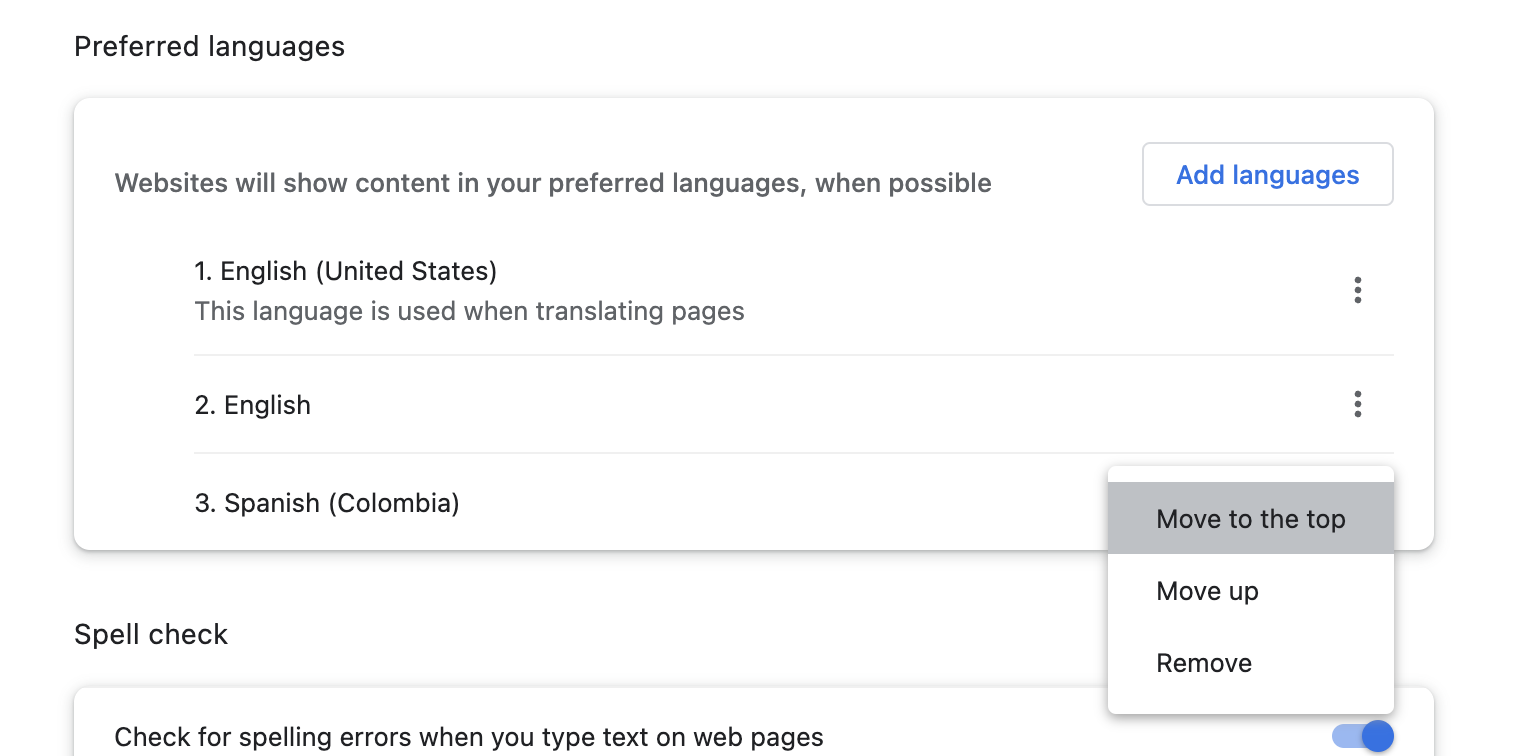
Move the new language to the top in order to test it
When you’re testing a new language, it’s best to set your tour’s targeting settings to Always show for debugging, or use an incognito/private window so that it does not remember your previous visits.
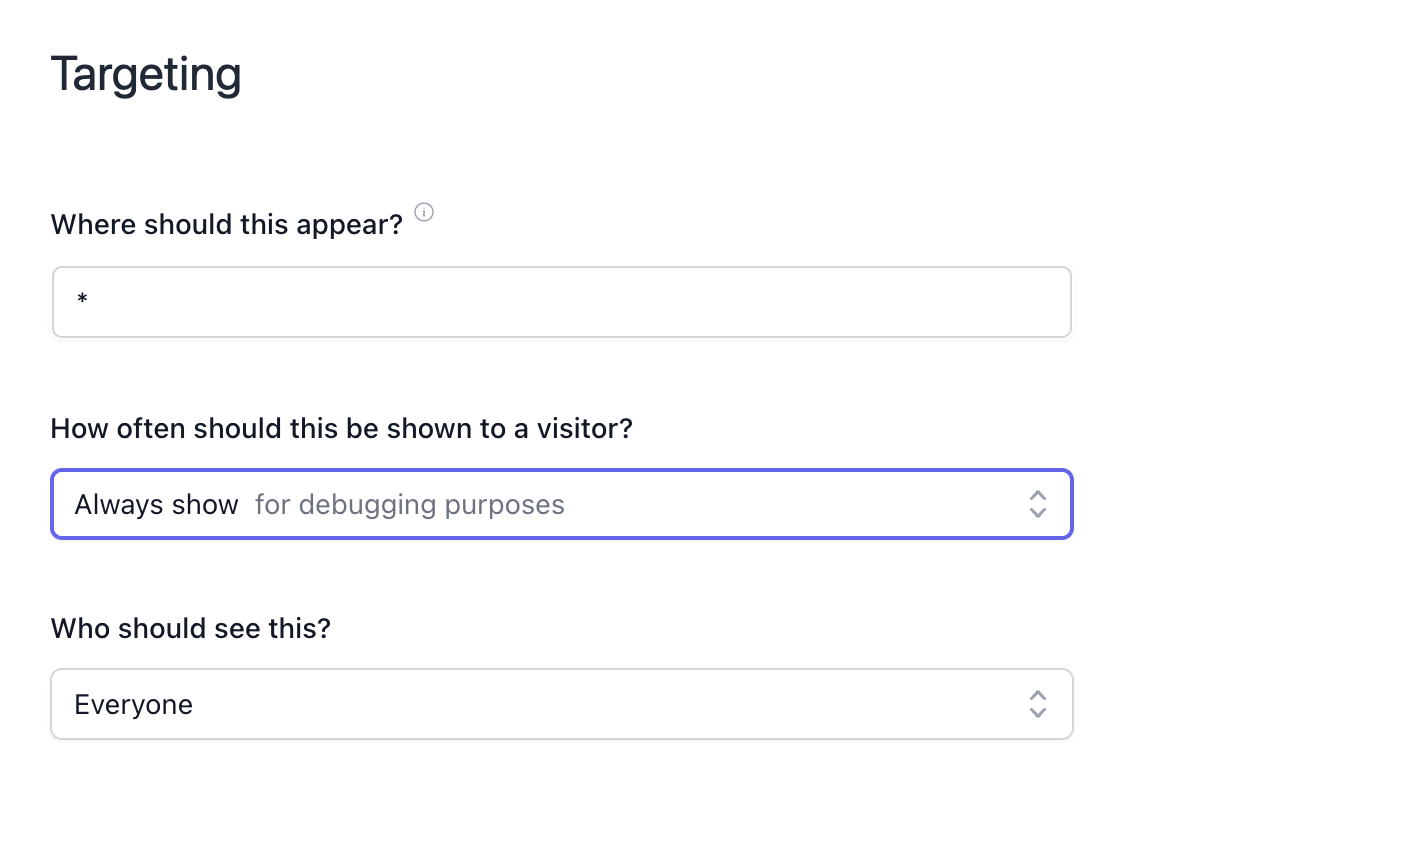
Set your tour to “Always show” or use an incognito tab so the tour will show.
Still have questions?
We are here to help. Don't hesitate to reach out by email any time.